How to bleed your Mecatech shocks
- Posted on
- By Marco Harleman
- Posted in Bleeding, exploded view, Mecatech, refill, service, silicon shocks
- 0
To have your car perform at its maximum possible level you need a set of good working shocks. When there are airbubbles inside, or you just want to change shock-oil and looking for a detailed manual on how to refill and bleed your shocks: here is a detailed manual for you.
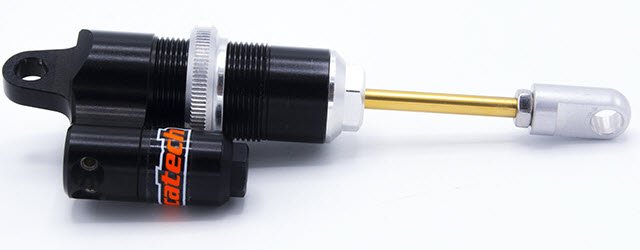
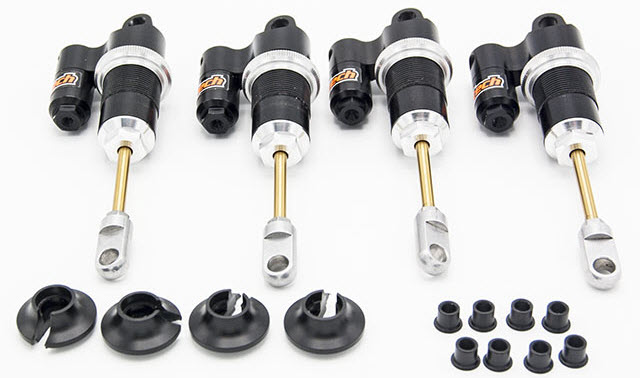
First of all we start with a set of Mecatech silicon shocks. These can be included in your new car, or you might have already ones in use. This manual can be used in case you need to refill your new or used shocks, or just want to change the viscosity of the oil. How to bleed your Mecatech shocks
Step 1: Necessities
Allen key 2 mm
Old towel or shirt
Shock-oil in different viscosities
Key with a width of 12mm
Step 2: Clean shocks and remove old shock oil
It is always preferable to have your shocks clean while working on them. So free of dust, moist or any kind of debris. Use an old towel or even an old T-shirt to clean them up, a piece of cleaning paper will do the job as well. Remove all the old shock oil in case you want to refresh or just change viscosity.
Step 2: Check the condition of the shocks
In case of used shocks: check if the shock bushings, the outer O-rings and the shock seals in the lower shock part are still in good order. Check also whether the rods are not bended caused by a crash.
Always be sure that you keep the seals and also the bleeding screws clean from dust and other debris.
Step 3: Fill the shocks with new oil
We will fill the shocks with high quality silicon oil by HR-Creations. Although there are many suppliers of silicon shock oil on the market we prefer this brand based on their constant quality and its value for money.
The viscosity of the oil depends mainly on the diameter of holes in the used shock pistons. Mecatech offers several variants. Common in use are the pistons containing 1.5 and 1.8mm holes.
But of course also temperature, track conditions and track state (flat, bumpy, or any special curbs) do influence the choice of the oil viscosity. We will handle that more in depth in a future topic about setup. As a working standard for the 1.8mm piston holes: use 4000 viscosity in the rear shocks, and 8000 in the front.
Let’s start with the filling of the shocks; a good tip is to remove the white cap of the bottle completely to avoid any unnecessary air bubbles. Be sure to not overfill the shock with oil, about half way the inner thread of the main housing is enough.
Do not use any kind of Loctite or what so ever to secure the lower shock part! Instead use a very, very small piece of the Teflon PTFE thread sealing tape.
Step 4: Remove any kind of airbubbles
The air bubbles should be out of the main shock part first. Often with the help of a vacuum container. If you don’t have any then time is just your friend. A helpful tool for this purpose is the shock standard from ModelCarStudio but any GRP or PMT tire will do the job as well.
Step 5: Re-assembly
After all air bubbles are removed we can gently “drop” the shock piston into the oil with the shock rod about halfway out of the lower shock part. Gently turn, rotate and push the piston very slowly in the oil, you might see any additional air bubbles collapse, which is good.
If you don't see any air bubbles turn the lower shock part a few turns in the main shock part. Now open just one bleeding screw and turn (very slowly) the lower shock part a few turns inside.
Turn by turn there should come a little drop of oil out of the opened bleeding hole. (During the very first bleeding process there will come air first)
With just your finger you can hold the drop and put it on a towel or whatever. When you notice that there are no bubbles coming out the bleeding hole, but pure silicon oil, close the bleeding screw.
Turn the lower shock part in completely, but don’t push the shock-rod inside yet: this will built up some pressure in the shock housing. Any remaining air will be pushed up towards the bleeding hole.
Open the second bleeding hole. You will notice some oil will flood out under pressure (which is good). Keep a towel or cleaning paper close by to keep the shock and the area clean from flooding oil.
Now slowly push the shock shaft further inside until about 3/4 until 5mm before the maximum of the total way. Further inside means less rebound. Again the excessive oil comes out of the bleeding hole slowly.

Do not overtighten the lower shock part, or the bleeding screws as this could damage the main housing! Close the last bleeding screw.
Step 6: Check and double check your work
After all steps are completed it is time to check if all air is really removed from the system. You can do this by slowly extract the shock-rod completely and push it back inside the housing. You will feel some kind of "gap" during the movement when there is still air inside, or too less oil. If that’s the case you need to repeat the above steps.
During the first bleeding of new shock kits the process might to be repeated once or twice to be sure all air is removed from the top end of the shock. Once ready clean the shocks again and remove any spilled shock oil.
Step 7: Finish - Race = On!
Although this manual is basically written based on the Mecatech silicon shocks, some of the steps are similar compared to the bleeding process of other shocks as well.
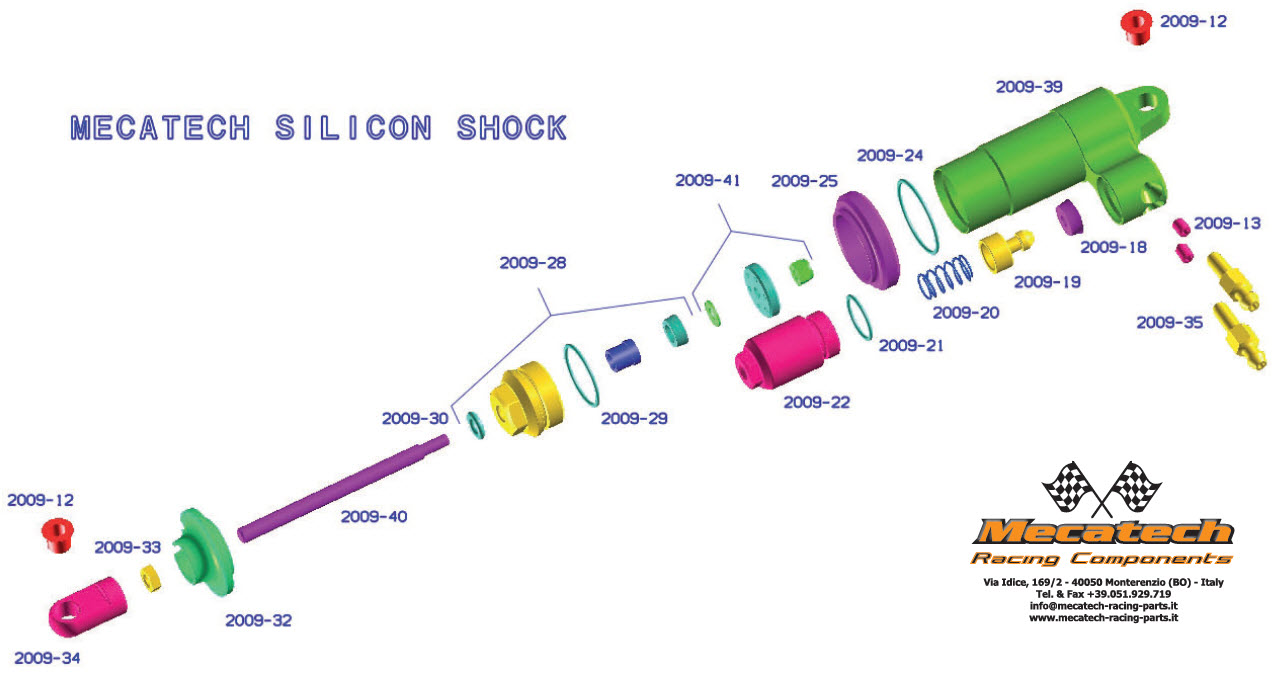
Exploded view of the Mecatech shock; you will find all requires spares by clicking the image.
Feel free to share your comments or questions below.
Comments
Be the first to comment...